|
Time to add some plants!
Plants are always a bit daunting because getting them right can be tricky. I am not trying to recreate the plants in the photo. My goal is to create believable foliage that are interesting but wont distract the viewer. First I created the components I would be using with object paint. Stems and leaves. I created two leaves so that I can apply different materials to each for some color variety. 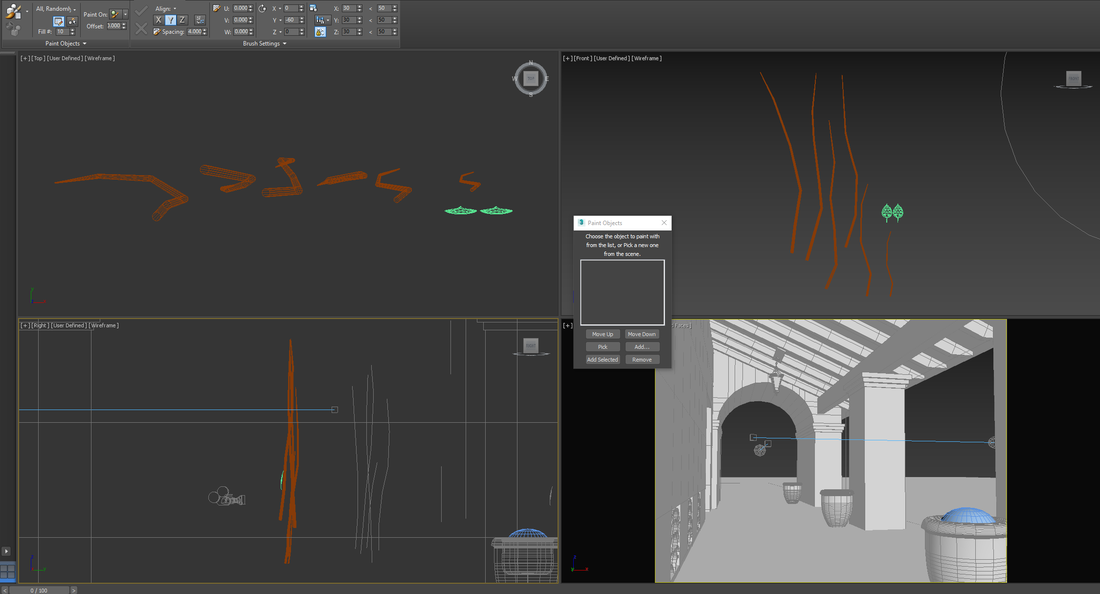 Next, I created a spherical root ball so I could paint on it and my branches would go the right directions. 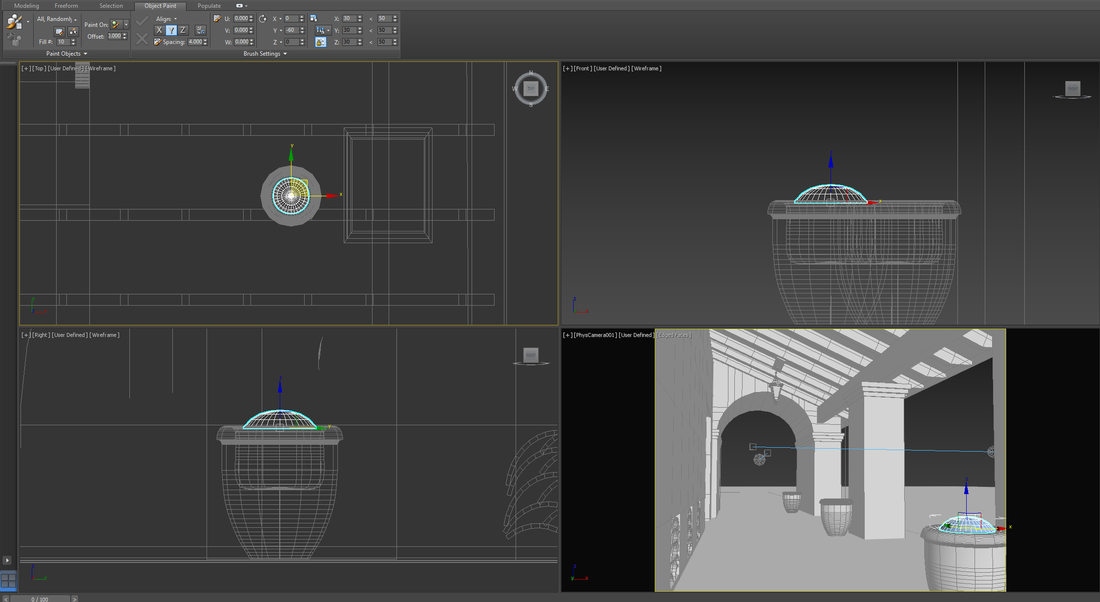 Now it's time to paint on some branches. I randomly painted on all the sizes then went back in with just the smallest one around the edge of the ball, but also adjusted the ball so I'd get more horizontal branches. 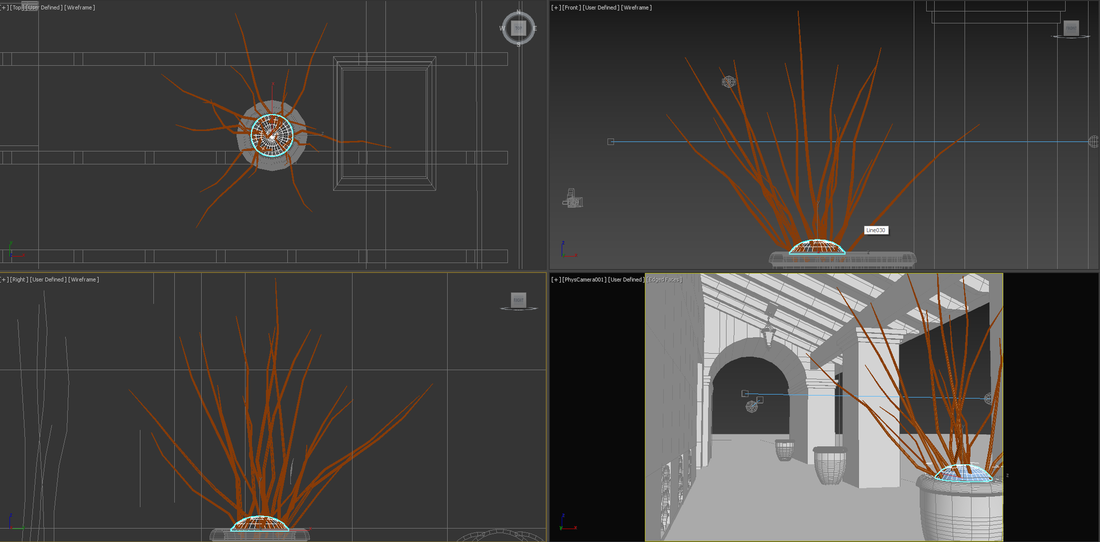 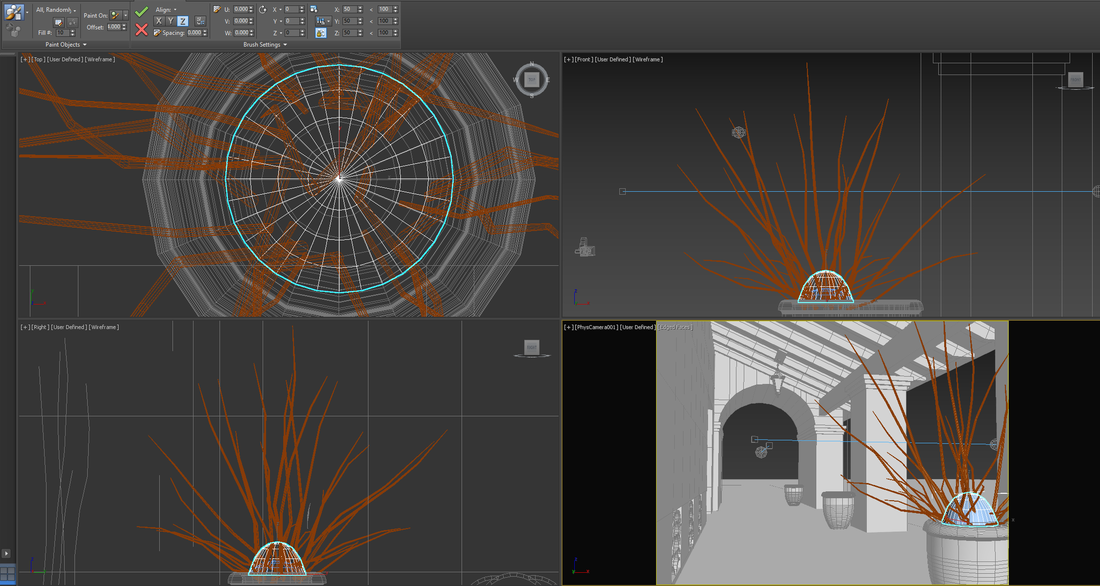 After some strategic pruning and rotations: 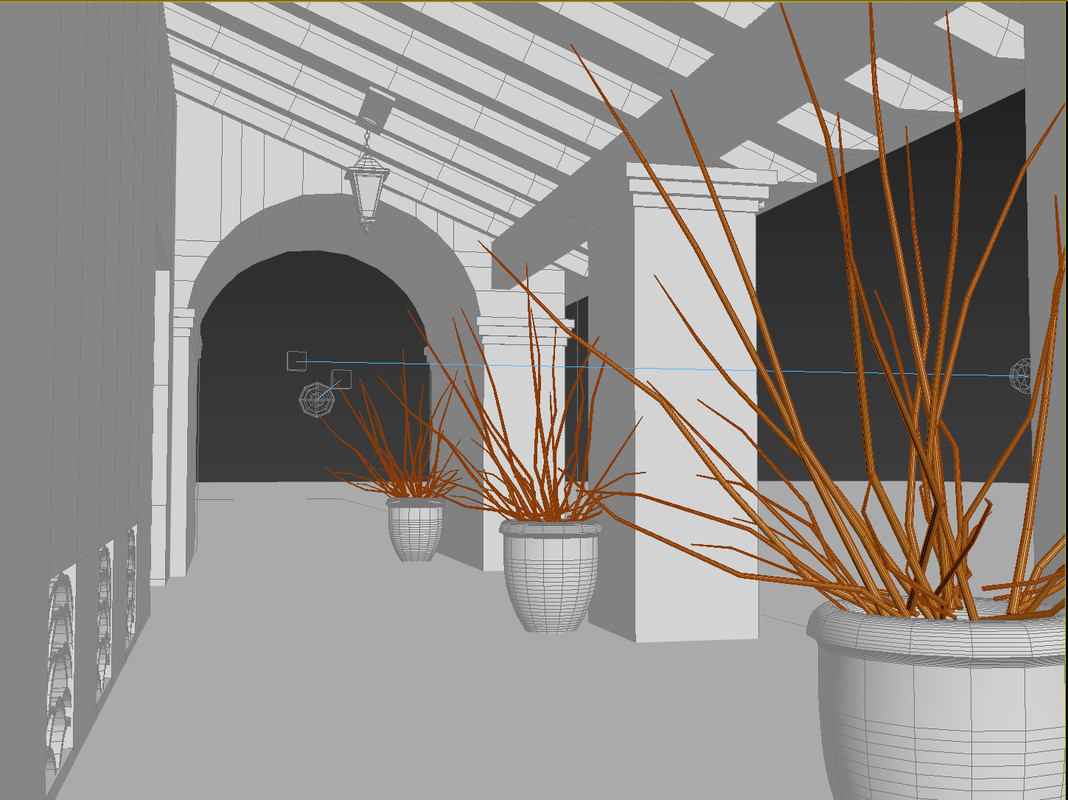 The first render looks pretty good model wise. The materials need some work. We need more sheen and some translucency. 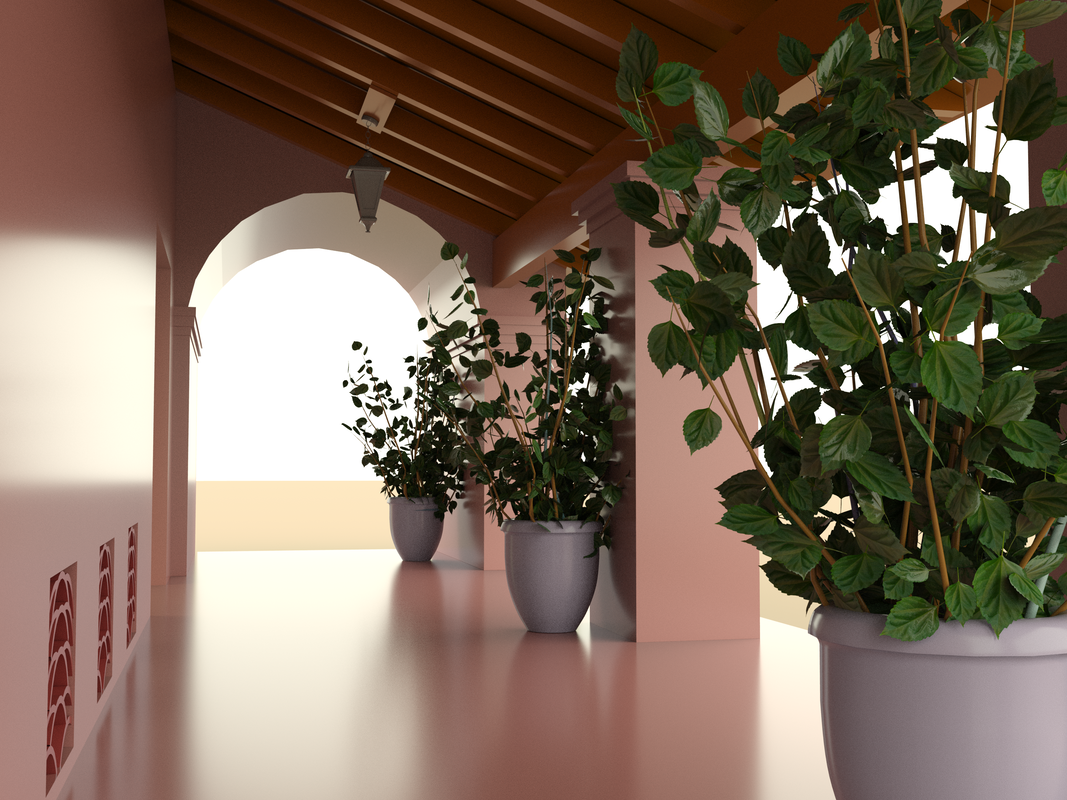 After several iterations on the materials and some repruning, this is where we are. At this stage I'm still gathering resources for the final image. I now have the materials and geometry that I need to make adjustments when I get closer to the end. I suspect I will opt for more branches and leaves as I get closer to the end. 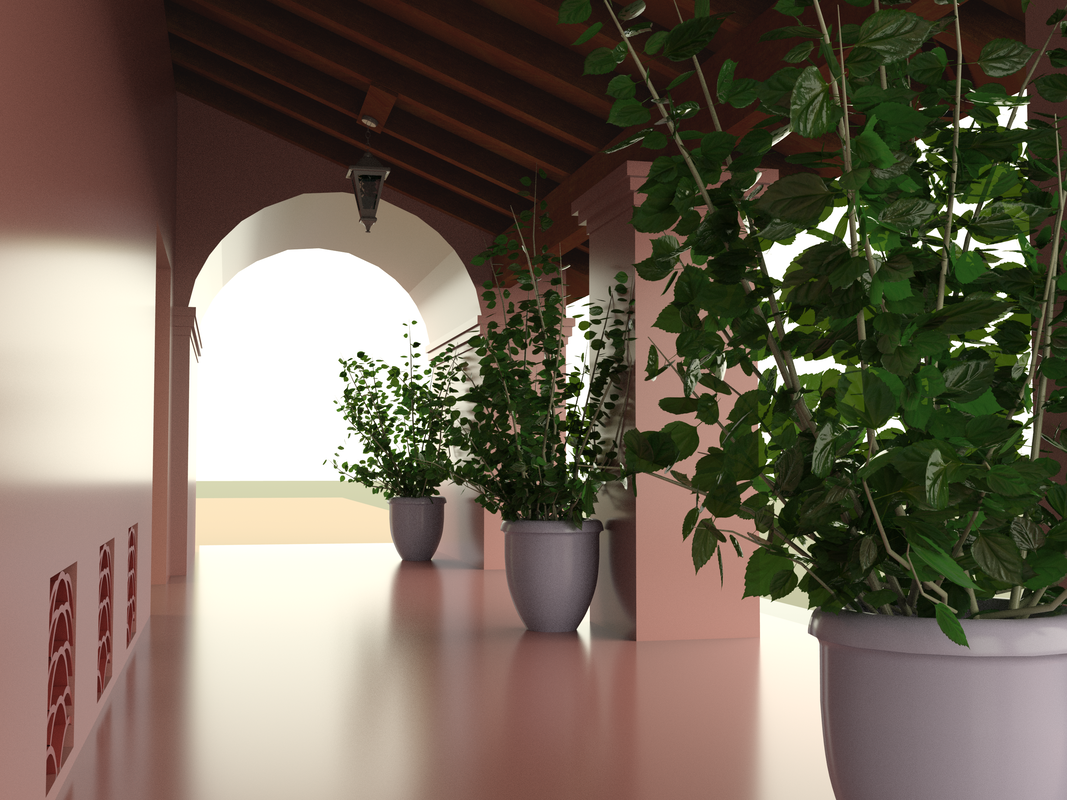 Next up, materials for the pots and the walls!
0 Comments
For this post, I focused on lighting and some more geometry.
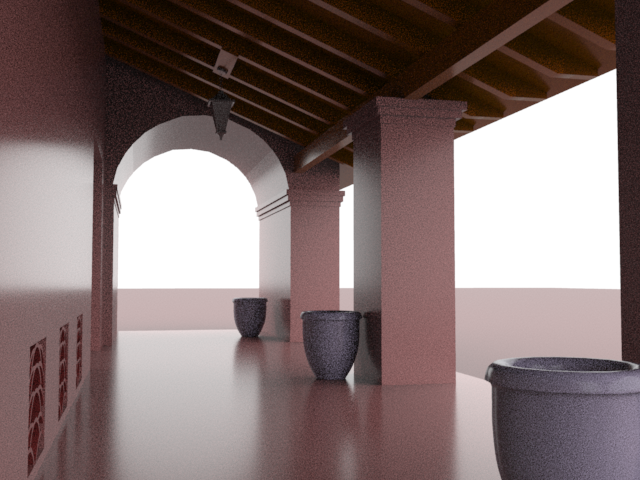
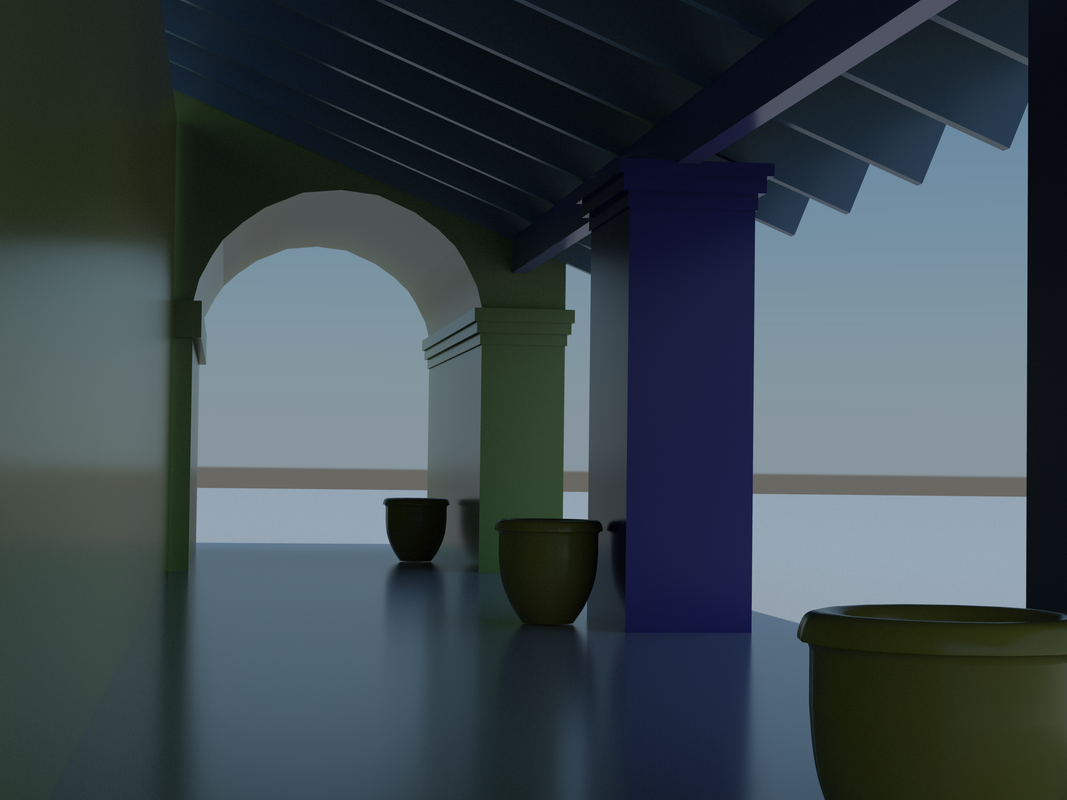
The light in this space is where the magic comes from so it's important to get it right. I started off by upgrading the camera to a physical camera which allows me to dial in the exposure. I also made sure that the camera match was more accurate since things were a bit out of scale. Now the camera match is more accurate and the scale is more real world scale for the archway. The first renders from my last post had a regular free camera and a sun positioner sun light. It also had the generic colors on the objects that were assigned when they were created which effects the lighting quite a lot. Now that I've researched Arnold renderer and how to properly light the scene, it's time to change all that. Below is the scene I ended off with last time with a little more geometry.  Rendered with Sun positioner only First I went in and grabbed a closer color for each object to match the inspo photo and added an Arnold skylight. Below the render is in the active view which allows for quick adjustments to light and cameras and is set to a low resolution for speed.  Active View, skydome only I'm getting closer, but it's still pretty dark in the upper corner and the pots need a little more. In order to do this, I put in some quad lights as portals for the skylight to direct more of the energy where I need it.   Active view, skydome and 3 portals It's subtle, but we're starting to get some more energy into that top left corner, and we're definitely getting a lot less noise. You can see below we still need to make some adjustments to the exposure, and we could stand to warm up the light a bit.
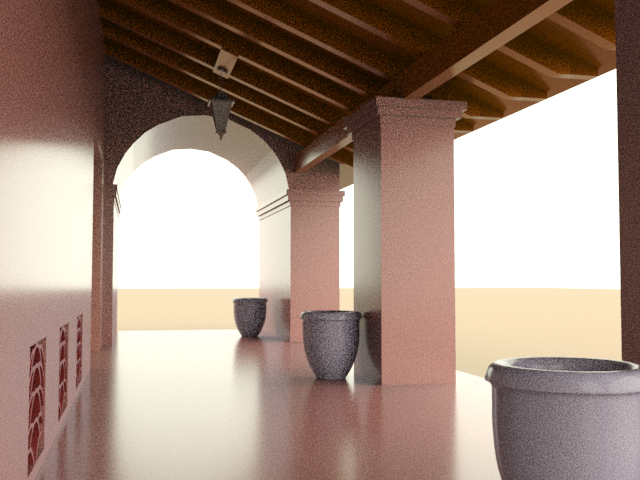
Here's it is after those adjustments
And below is the production render of that scene. This is good enough for now until I get more accurate textures into the scene since the colors and specular/roughness of those materials will also change everything. The plants are next and will also have a large impact. I'm happy with the light in that top corner, but the shadows in the breezeway need to be much cooler. An HDRI should help with that. We're getting there! 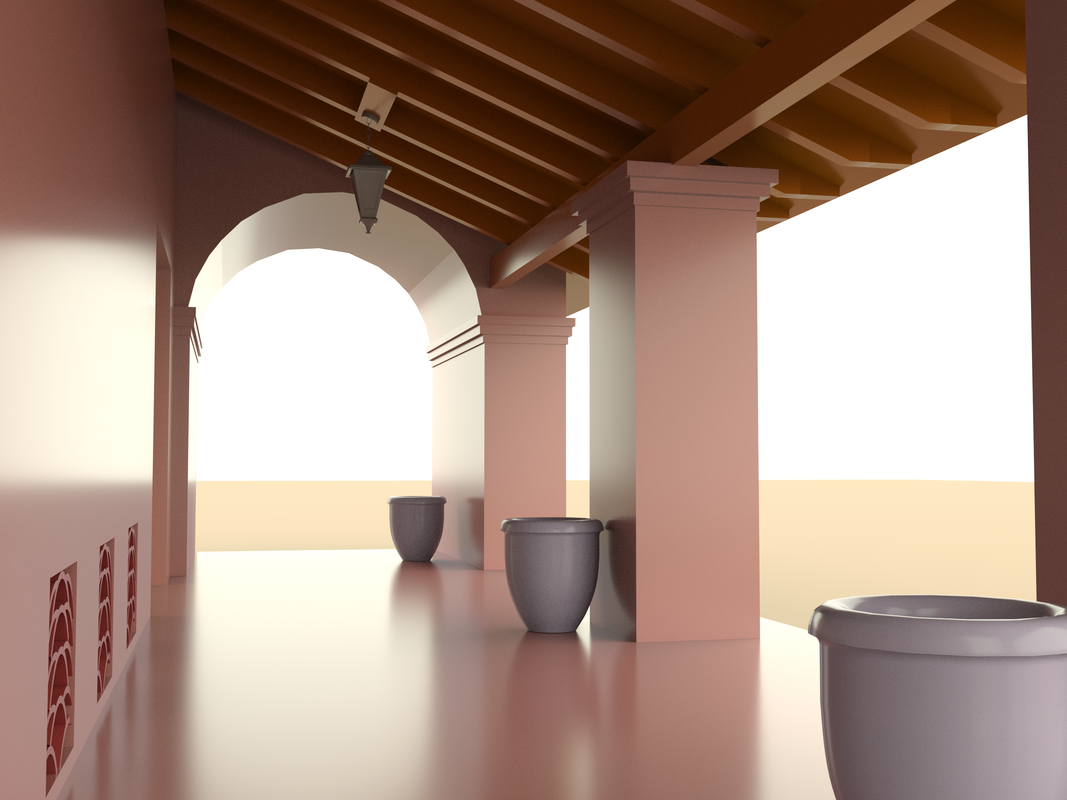 Production render, warmer skydome and 3 portals Until next time!
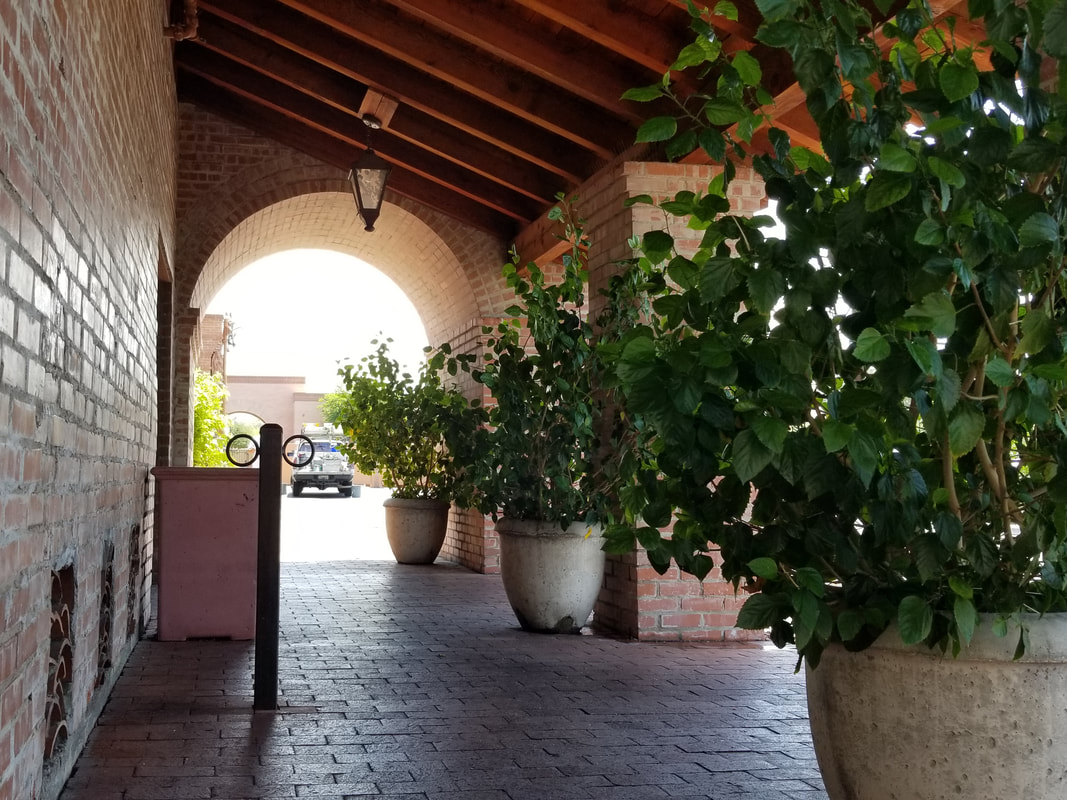
Hello! Today I decided to approach things a bit differently for the next image for my portfolio. Instead of creating a scene from scratch, I decided to try and reproduce a favorite spot of mine here in Tucson. I took a photo of this archway a while back because it has a magical quality about it, which I think is largely due to the lighting of the space. I've attempted painting it in watercolor a couple of times with some success, but the lighting is very difficult to capture. So, I thought I'd let 3ds Max take a stab at it! Here's the photo and I'll be trying to document my process as I recreate it in 3D.
After configuring the viewport camera to match the original camera I started blocking things in to get an idea of where things should go and to check the accuracy of the viewport match:  Then, I started modeling the scene assets and putting them in place. The pots are done with a lathe modifier, and the building was made with traditional polygon modeling. We're still blocking things out here but working towards assets that can be unwrapped for Substance Painter later.  Things are starting to take shape as you can see in this quick render below. I added a skylight to the scene and set the sun up to match the actual location of the space, and I also grabbed the date and time info from the original photo and set the skylight up to match that as well. I may change that around later to see if I can create more drama in the final image, but for now, I'm just trying to match the photo. The lighting looks pretty close and is hitting the space in the right ways. The render setup will need some adjustment. I'm relatively new to Arnold but some indirect and/or global illumination should help brighten things up when I get to that.
That's it for the first post. Thanks for checking in!
Mark |
Mark Hammond3d Environment artist ArchivesCategories |
 RSS Feed